Courses / Lifting Operations and Rigging
Lifting Operations and Rigging
About this certificate. This is a theory course. The certificate records that you completed the theory and passed its assessment. It is not an accredited qualification. Many countries also require practical assessment before theory counts towards a statutory requirement — check what applies where you work. Full terms.
What actually rates a lift — the sling, the angle it hangs at, the hitch, the shackle and the lifting point — then the load itself, the exclusion zone around it, and the plan and signals that hold the whole operation together.
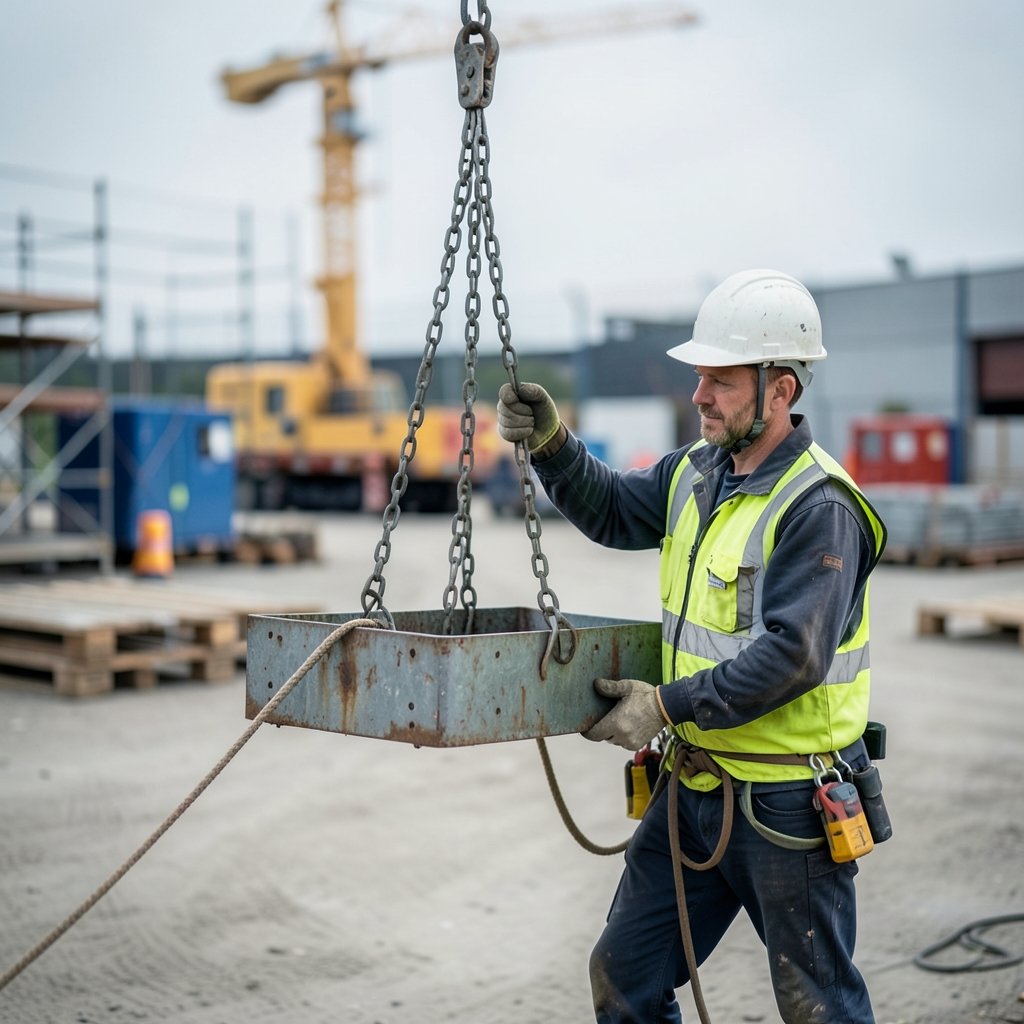
Create a free account to start this course
The lessons are free once you have an account. The assessment and the certificate are part of a subscription.
Selecting a sling: chain, wire rope or textile
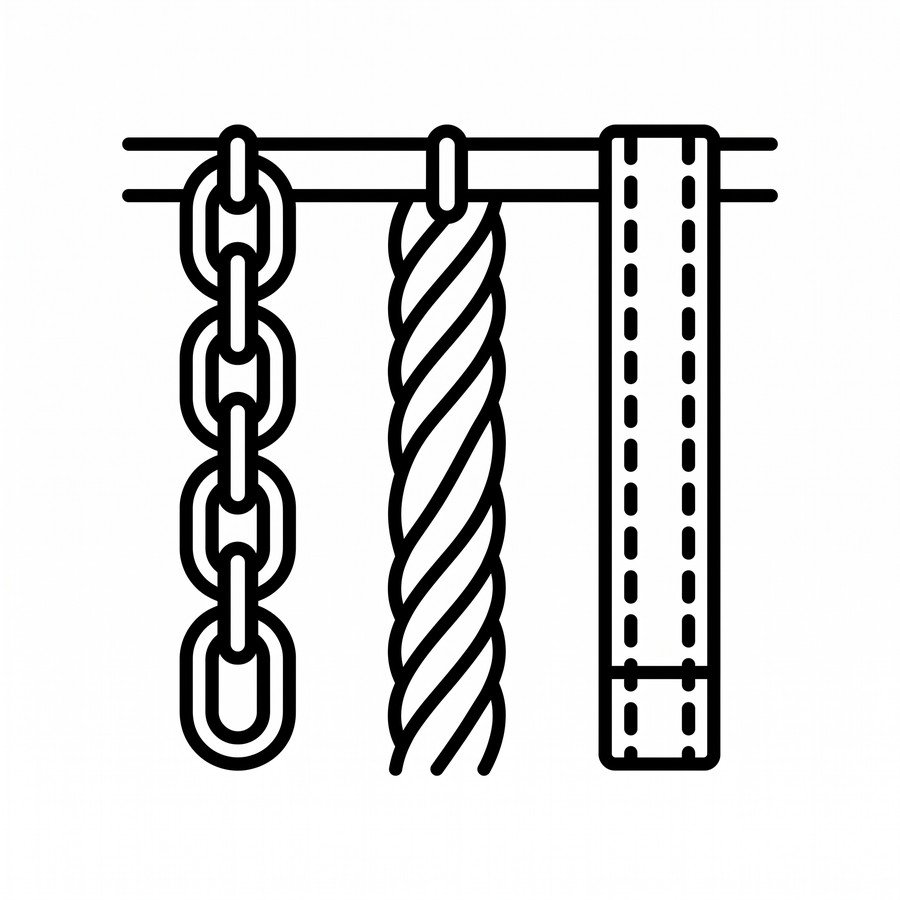
There is no strongest sling material, only a material that suits the load in front of you — and most of the arguments about chain against textile disappear once the question is asked as what will damage what.
Chain survives sharp edges, hot surfaces and years of rough handling, and it can be shortened with purpose-made fittings to level an awkward load. Wire rope sits between the two: more resistant to abrasion and heat than textile, more flexible than chain, and it gives visible warning as it deteriorates because broken wires appear before the rope parts. Textile is light, kind to finished surfaces and conforms to the shape of the load, which is exactly why it is also the easiest of the three to destroy.
A machined casting with painted faces is a textile job, because chain will mark it and wire rope will scuff it. A steel fabrication with flame-cut edges is a chain job, because textile will be cut on the first lift and wire rope will be damaged at every corner. Anything hot rules textile out entirely. Anything that must not be scratched rules chain out. Where the material is fixed by the load, the remaining decision is the configuration, not the type.
This is the difference that matters most in practice. Wire rope sheds broken wires, and a rope showing them is telling you it is on the way out. Chain stretches and its links stop articulating freely, which is detectable by hand. Textile gives the least warning of the three: a cut in the edge of a webbing sling can remove a large part of its strength while the sling still looks and feels serviceable, and a roundsling hides its load-bearing core inside a cover entirely. That is not an argument against textile, but it is an argument for inspecting it more carefully.
Key points
- EN 1492 — Textile Slings (Webbing and Roundslings)
- EN 818 — Short Link Chain for Lifting
- EN 13155 — Non-Fixed Load Lifting Attachments
Full reference: Selecting a Sling: Chain, Wire Rope or Textile ↗
Reading a sling label and what the working load limit means

A working load limit is not a single number that belongs to a sling. It is a number that belongs to a sling used in a particular way, and reading it as anything else is how correctly rated equipment ends up overloaded.
Every sling carries a durable identification stating its working load limit, its material or chain grade, the number of legs, the nominal length, the manufacturer and a traceable identification code. That code is what connects the sling in your hand to its examination record. A sling with no readable label is not an unmarked sling that is probably fine; it is a sling whose rating cannot be established, which puts it out of service regardless of its condition.
The same sling has different capacities in a straight lift, a choke hitch and a basket hitch, and a multi-leg sling has different capacities at different leg angles. That is why a label carries a set of figures rather than one, and why quoting the largest of them is a mistake that is easy to make and hard to see afterwards. The figure that applies is the one for the configuration actually being used on this lift.
The working load limit is the maximum load the sling may be used to lift in the stated configuration. It is derived from the breaking force with a design factor applied, and that factor is not spare capacity available for use — it covers the wear, the shock and the imperfect conditions the equipment will meet in service. Treating it as headroom removes the very margin that makes the rating meaningful.
Key points
- EN 13414 — Steel Wire Rope Slings
- EN 818 — Short Link Chain for Lifting
Full reference: Reading a Sling Label and What the Working Load Limit Actually Means ↗
Sling angle: how the leg angle multiplies the load
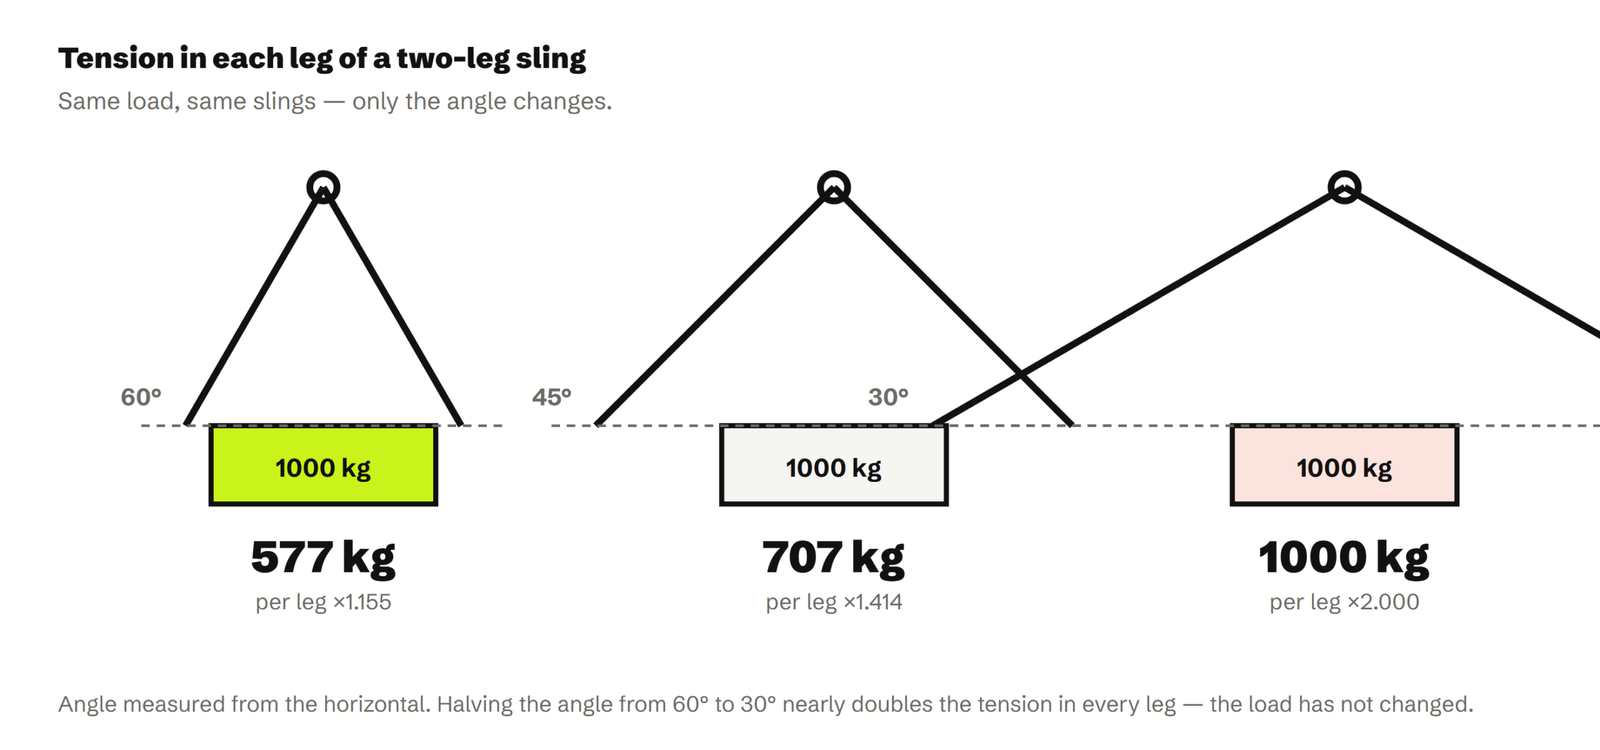
The most consistently underestimated force in rigging is the one created by the geometry rather than by the load, and a two-leg sling can be carrying far more than half the weight in each leg without anything appearing wrong.
When two legs lift a load between them, each leg carries a vertical component that supports the weight and a horizontal component that pulls towards the other leg. Only the vertical component does any lifting. As the legs spread further apart, the vertical part of each leg's tension becomes a smaller fraction of the total tension, so the tension itself has to rise to keep supporting the same weight. The load has not changed; the geometry has made the sling work harder.
Legs hanging close to vertical share the weight nearly equally between them. As the included angle opens up, the tension in each leg climbs, slowly at first and then steeply. Beyond a wide angle the tension rises fast enough that a sling comfortably rated for the load in a near-vertical configuration is being asked for far more than it can give. This is why sling capacity tables are printed against leg-angle ranges, and why a rating quoted without an angle is incomplete.
Angle is set by the sling length against the spacing of the lifting points. A short sling on widely spaced points forces a wide angle, and the fix is a longer sling or a spreader beam rather than an acceptance of the geometry. A spreader beam changes the problem entirely by taking the horizontal component into the beam and leaving the slings above it hanging nearly vertical, which is why it appears on so many awkward lifts.
Key points
- EN 1492 — Textile Slings (Webbing and Roundslings)
- EN 818 — Short Link Chain for Lifting
Full reference: Sling Angle: How the Leg Angle Multiplies the Load ↗
Choosing a hitch: straight, choke and basket
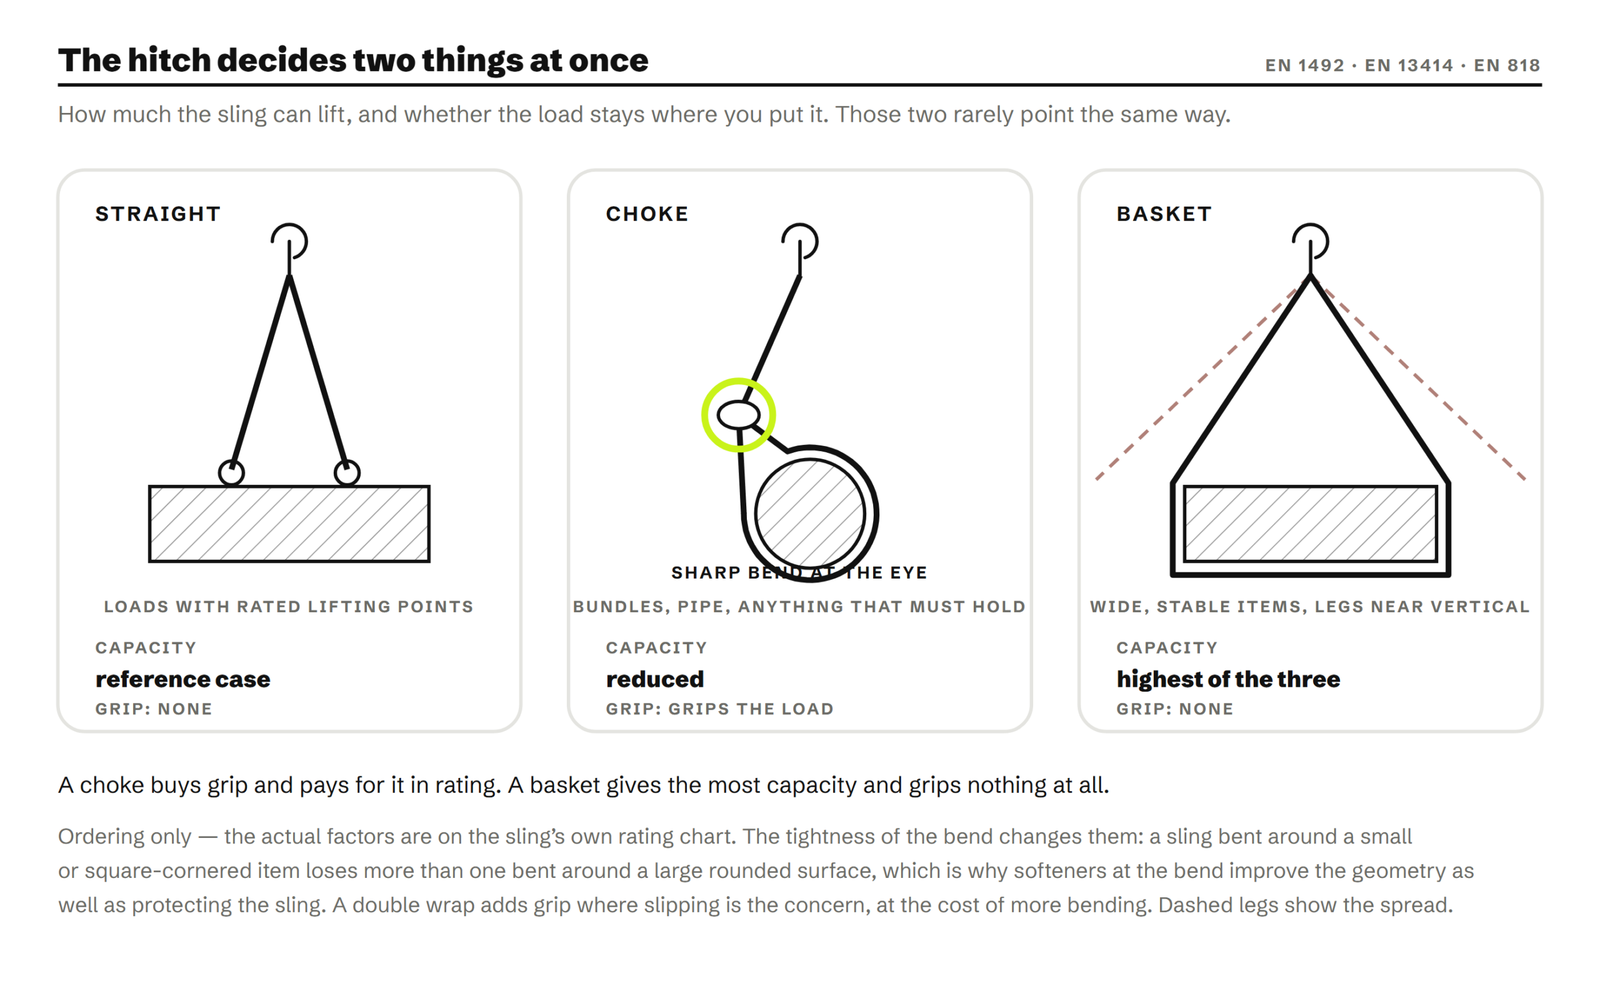
The hitch decides two things at once: how much the sling can lift, and whether the load will stay where you put it. Those two rarely point in the same direction, which is what makes the choice worth thinking about.
A sling attached at each end to a lifting point on the load, hanging in line with the pull, is the simplest arrangement and the reference case for the rating. Nothing is bent tightly, nothing is gripping, and the sling does exactly what it was rated to do. It also does nothing at all to stop the load rotating or sliding, which is why it belongs on loads with proper lifting points rather than on loose items.
A choke passes the sling around the load and back through its own eye, so the sling tightens on the load as it takes the strain. That grip is the reason it is used: it holds a bundle together and stops a cylindrical item sliding out. The cost is that the sling is bent sharply at the choke point, and that bend reduces the capacity substantially compared with a straight lift. A choke is a control decision that you pay for in rating, not a way of getting more from a sling.
A basket passes the sling under the load with both ends up to the hook, so two parts of the sling support the weight. That gives the highest capacity of the three arrangements, provided the legs stay close to vertical — because the moment the sides of a basket spread, the leg angle penalty applies exactly as it does to a two-leg sling. A basket also grips nothing at all, so a smooth load can slide out of it, and that is precisely how loads are dropped from an arrangement that looked generous on capacity.
Key points
- EN 13414 — Steel Wire Rope Slings
- EN 818 — Short Link Chain for Lifting
Full reference: Choosing a Hitch: Straight, Choke and Basket ↗
Module 1 assessment
The assessment is part of a subscription
You have full access to every lesson in this course. Taking the assessment and earning the certificate needs a subscription.
4 questions · 80% to pass · unlimited retakes. The lesson material is hidden while you answer.
1. A sling label carries several working load limits. Why?
2. Is the working load limit the same as the breaking load?
3. Why does spreading the legs of a sling increase the tension in each leg?
4. Which hitch gives the highest capacity, and on what condition?
Protecting slings from edges and corners

An edge does two things to a sling at once: it cuts it, and it concentrates the whole load onto a narrow strip of it. Protection deals with the first; geometry deals with the second, and both matter.
Where a sling passes over a corner, the tension in it is carried by the material touching that corner rather than shared across the full width or the full cross-section. A textile sling bent over a sharp edge is loaded across a fraction of its webbing, and a wire rope bent tightly puts most of the tension into its outer wires. That is why the damage from a single lift over an unprotected edge can be far greater than the appearance of the edge suggests, and why the strength lost is not proportional to the visible mark.
Cutting is the obvious one, and it is what sleeves, wear pads and corner protectors address by putting a sacrificial layer between the sling and the edge. Bending is the quieter one, and no amount of sleeving fixes it: a sling bent tightly around a small radius loses capacity because of the geometry, whatever is wrapped around it. Increasing the radius — with a proper softener, a shaped corner piece or a piece of section — is what addresses the second problem, and it is why a soft cloth wrapped around a corner is a partial solution at best.
A smooth but hard corner needs a radius more than it needs armour. A flame-cut, sheared or corroded edge needs armour more than it needs a radius, because it will saw through anything soft. Rotating loads need protection that stays put, since a sleeve that slides along the sling as the load turns leaves the sling bare at exactly the moment it is loaded. Magnetic and clamp-on corner protectors exist for this reason and are worth more than an improvised wrap on any lift that will be repeated.
Key points
- EN 13414 — Steel Wire Rope Slings
- EN 388 — Protective Gloves Against Mechanical Risks
Full reference: Protecting Slings From Edges and Corners ↗
Pre-use inspection of textile slings
Textile is the material that gives the least warning before it fails, which makes the pre-use look at it the single most valuable thirty seconds in the whole lift.
Start with the label, because if it is missing or unreadable the inspection stops there. The label carries the working load limit, the material, the length and the traceable identification that links the sling to its examination record. Without it, the sling cannot be shown to be rated for anything, and no amount of good condition substitutes for that. A label that is present but illegible is the same outcome as no label at all.
Run the whole sling through your hands, looking at both faces and both edges. Damage is not distributed evenly: it concentrates where the sling passed over the load last time, which is rarely where it will pass this time. Feel as well as look, because glazing from heat and hardening from chemical attack are more obvious to the hand than to the eye, and a stiff patch in otherwise supple webbing is a finding.
A cut or nick in a load-bearing edge is a withdrawal criterion however small it looks, because the edges carry a disproportionate share and a cut there is where progressive failure starts. Stitching is the other structural element: pulled, cut, worn or missing stitches at an eye mean the termination is no longer sound, and a termination that lets go releases the entire load. Look at the stitching pattern rather than at the webbing around it.
Key points
- EN 13414 — Steel Wire Rope Slings
Full reference: Pre-Use Inspection of Textile Slings ↗
Chain sling discard criteria and safe shortening
Chain is the most forgiving sling material and the one people inspect least carefully, largely because it looks indestructible right up to the point where it has quietly stretched beyond use.
Chain of the same nominal size has very different capacity at different grades, and the grade is stated on the tag rather than being visible in the chain. That matters most when components are mixed: a master link, hook or coupling of a lower grade fitted into an assembly reduces the rating of the whole sling to that of the weakest part, and nothing about the assembled sling shows it. An assembly is a single rated item, not a collection of separately rated ones.
A stretched link becomes longer and narrower, and the first symptom is that it stops articulating freely against its neighbours. Running the chain through your hands and feeling for a point where it has become stiff finds this long before it is obvious to look at. A chain that has gone stiff at a particular point is showing deformation, not dirt, and stiffness that does not free up when the link is worked is a reason to withdraw the sling.
Chain wears where the links bear against each other, so the inside of the link at the contact point is where material is lost. A nick or gouge in the body of a link is more serious than its size suggests, because it acts as a stress raiser in a component that is loaded to a high proportion of its capacity by design. Cracks, twisted links and any link that cannot be turned in the normal way are all withdrawal criteria without further assessment.
Key points
- EN 13414 — Steel Wire Rope Slings
Full reference: Chain Sling Discard Criteria and Safe Shortening ↗
Shackles: selecting, fitting and the ways they fail

A shackle is the smallest, cheapest and most frequently substituted component in the load path, and it is routinely the one nobody checked.
A bow shackle has a wide, rounded body and will accept several sling legs or a wide webbing eye without pinching them, and it tolerates loading from more than one direction better than the alternative. A dee shackle is narrower and is intended for a single in-line pull. Using a dee where several legs converge crowds them together and loads the shackle sideways, which is a straightforward misapplication rather than a marginal one.
A shackle and its pin are a matched, rated pair. A pin from another shackle, a bolt of the right diameter, or anything else that fits is not a substitute, however convincing it looks, because the pin carries the load and its rating is unknown. A shackle assembled with a foreign pin has no rating at all, and this is one of the very few faults in rigging that is both common and completely invisible once the pin is in.
The sling goes in the bow and the load or the lifting point takes the pin. Reversing that puts the sling bearing directly on the pin, where it can roll the pin and unscrew it as the load settles. A sling in the bow can shift as the load takes up without turning anything. This is a rule about rotation as much as about strength, and it explains most of the shackles found part-unscrewed after a lift.
Key points
- EN 818 — Short Link Chain for Lifting
- EN 13414 — Steel Wire Rope Slings
Full reference: Shackles: Selecting, Fitting and the Ways They Fail ↗
Module 2 assessment
The assessment is part of a subscription
You have full access to every lesson in this course. Taking the assessment and earning the certificate needs a subscription.
4 questions · 80% to pass · unlimited retakes. The lesson material is hidden while you answer.
1. What is the first thing to check on a textile sling?
2. What is the difference between a sleeve and a softener at an edge?
3. How is stretch in a chain sling found?
4. Where should the sling sit on a shackle?
Eyebolts and lifting points: the cost of off-axis loading
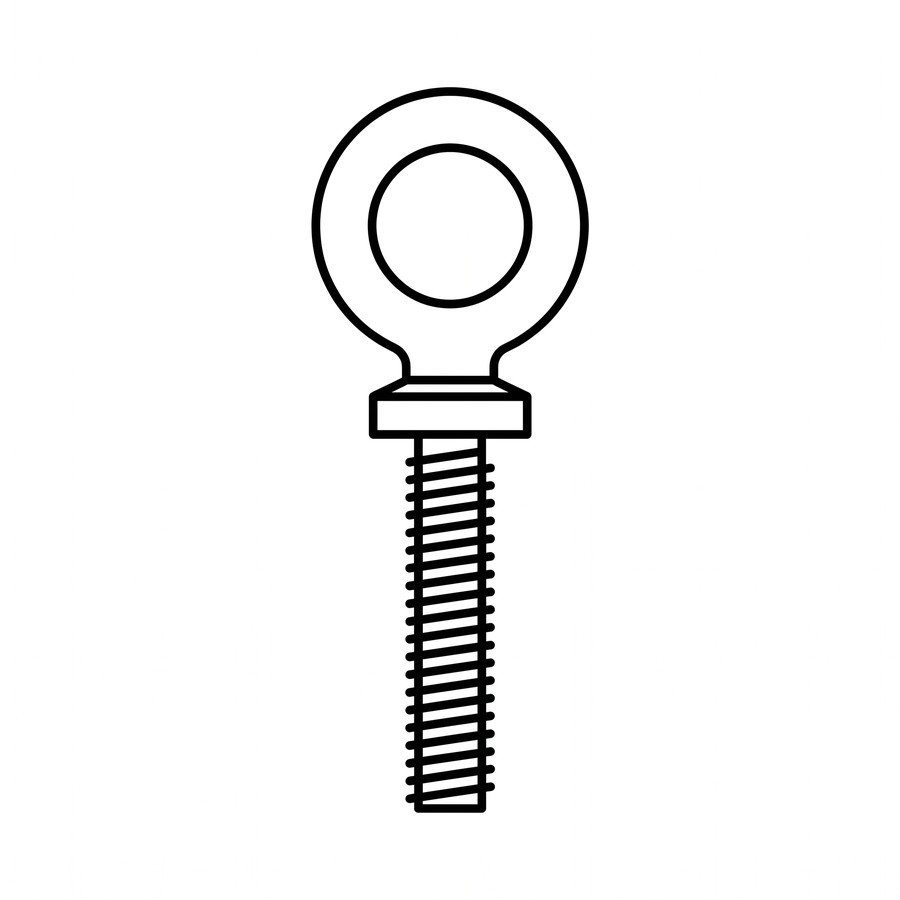
An eyebolt screwed into a machine looks like a lifting point that will take a pull from any direction. It is not, and the difference between the two types of eyebolt is one of the few genuinely dangerous ambiguities in rigging hardware.
A plain collared eyebolt is rated for a pull along the axis of its shank, straight up. A dynamo or collar-eye type with a wider machined collar seated hard against the face is rated for a pull in the plane of the eye as well, and its rating in that plane is much lower than its axial one. To the eye on a workshop bench, the two look alike. Fitting the first where the second is needed produces a component being loaded in the one direction it was never rated for.
Loading an eyebolt away from its axis applies a bending moment to the shank rather than pure tension, and the shank is comparatively slender. The capacity falls sharply as the angle opens, far faster than most people expect, and at wide angles the remaining capacity is a small fraction of the axial rating. This is the mechanism behind a large proportion of eyebolt failures: nothing was overloaded in terms of weight, but the geometry converted a modest load into a bending failure.
An eyebolt that is not screwed fully home so its collar bears evenly on a flat machined face is carrying its load on a few threads instead of on the seat. Packing washers under the collar to get the eye to point the right way is the same fault dressed up: it lifts the collar off its seat and puts the load into the thread. Where the eye ends up pointing the wrong way once tight, the answer is a swivel-type point, not a shim.
Key points
- EN 818 — Short Link Chain for Lifting
Full reference: Eyebolts and Lifting Points: The Cost of Off-Axis Loading ↗
Estimating the load and finding the centre of gravity
Two numbers decide whether a lift works: how heavy the load is, and where its weight acts. Getting the first wrong overloads equipment. Getting the second wrong makes the load swing, tip or slide the moment it leaves the ground.
In order of reliability: a marked weight on the item, the manufacturer documentation, a weighed figure from a load cell or a crane readout, and only then a calculation from dimensions and material. Estimating by eye comes last and should be treated as a way of sanity-checking a number rather than producing one. The common failure is not wild overestimation but quiet omission — the contents of the vessel, the water in the base, the packing, the pallet, the frame, the spreader beam, and the slings themselves all weigh something.
Crane capacity is consumed by everything below the hook, not by the item alone. A heavy spreader beam, a set of chain slings and a couple of shackles can account for a meaningful fraction of the machine's rated duty at radius, and leaving them out is one of the more common ways a lift is overloaded on paper as well as in fact. The attachment is marked with its own weight for exactly this reason.
A suspended load will always rotate until its centre of gravity hangs directly beneath the hook. If the hook is not above it when the strain comes on, the load will swing to put it there, and that swing happens at the exact moment the load breaks free of the ground, when people are usually closest. On an item that is longer than it is tall, this shows as a lurch. On a tall item it shows as a topple. Neither is a surprise; both are the load doing what it must.
Key points
- EN 13414 — Steel Wire Rope Slings
- EN 818 — Short Link Chain for Lifting
Full reference: Estimating the Load and Finding the Centre of Gravity ↗
Tag lines and controlling a swinging load
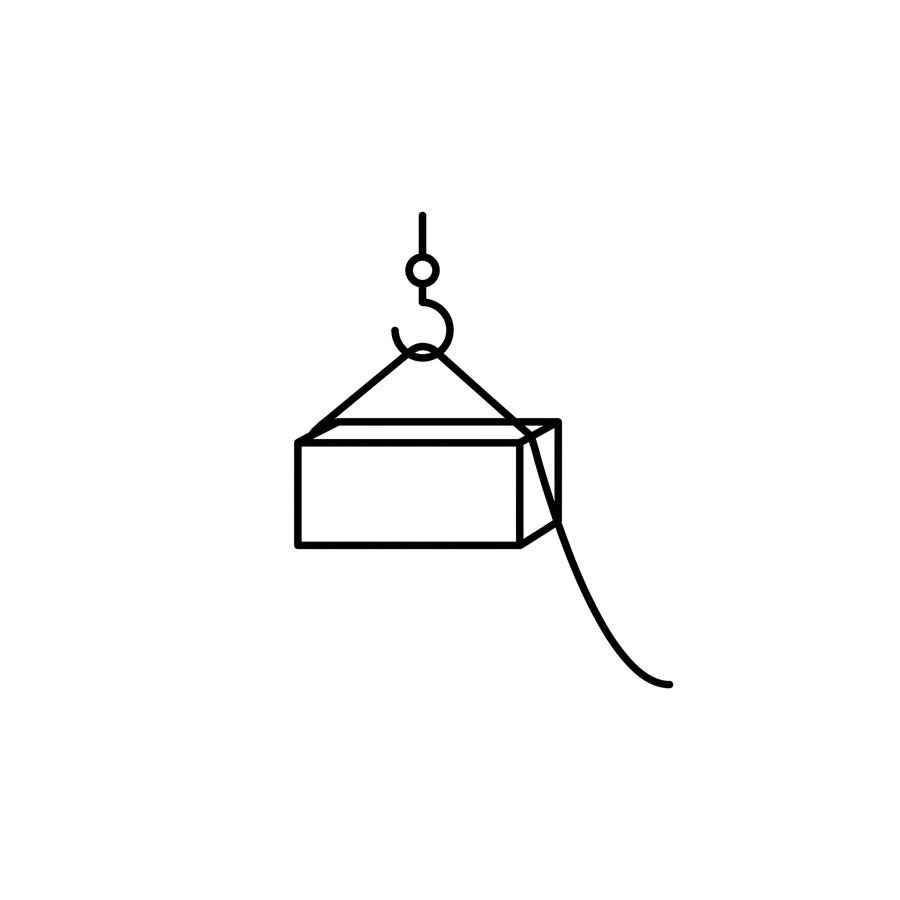
A suspended load is a pendulum with a person attached to the bottom of it if the tag line is used badly, and most tag line injuries come from the rope rather than from the load.
A tag line controls the orientation and the swing of a load from a distance, keeping the person who is steering it outside the area the load can reach. That distance is the entire point. A tag line short enough that the handler is under or beside the load has converted a control measure into a way of guaranteeing someone is in the wrong place, and a load steadied by hand has no tag line at all.
A tag line guides a load; it cannot arrest one. A swinging load carries far more energy than a person on a rope can absorb, and attempting to stop a swing by pulling against it drags the handler toward the load or pulls them off balance. The technique is to damp the motion progressively and to work with the swing rather than against it, which is also why a tag line is put on before the load leaves the ground rather than grabbed once it is already moving.
The rope is held, not worn. Wrapping it around a hand or a wrist, tying it to a belt, or taking a turn around the body means the handler goes wherever the load goes, and a load that drops or swings hard will take an arm or a person with it. This is the single rule that matters most, and it is broken most often when the rope is slipping and the handler wants a better grip.
Key points
- EN 397 — Industrial Safety Helmets
- EN ISO 20471 — High-Visibility Clothing
Full reference: Tag Lines and Controlling a Swinging Load ↗
Exclusion zones and why nobody stands under a load
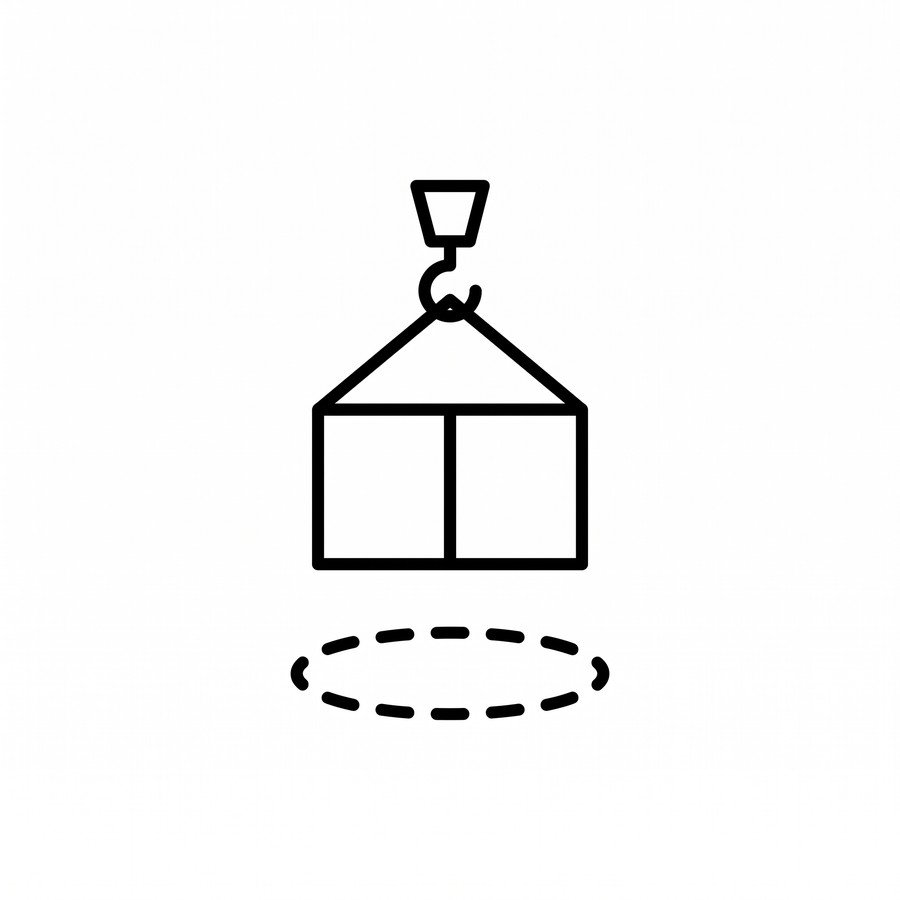
Every other control in a lift reduces the chance of the load falling. The exclusion zone is the only one that decides what happens if it does, which is why it is the one that must not be negotiable.
Rigging can be checked, capacity can be calculated and equipment can be examined, and all of that reduces the likelihood of a failure without ever reaching zero. Standing clear is the control that assumes the failure happens anyway. That is why it survives the argument that the lift is short, the load is light, or the rigging was checked five minutes ago — none of those change what a falling load does to a person underneath it.
A dropped load does not land neatly beneath the hook. It can swing before it falls, it can bounce, it can shed part of its contents outward, and a bundle can spread across a wide area on impact. A zone drawn tightly around the vertical footprint is a zone drawn for the best case. Size it for the load travelling, for its contents scattering, and for material bouncing outward on impact, and remember it moves with the load rather than staying where it was marked.
The people who walk into a lift area are usually the ones who were not at the briefing: a delivery driver, a visiting engineer, someone from another trade taking a short cut. A verbal instruction reaches the crew and nobody else. A physical barrier with a person controlling the access point reaches everyone, and it keeps working when the lift takes longer than planned and attention drifts.
Key points
- EN ISO 20471 — High-Visibility Clothing
- EN ISO 20345 — Safety Footwear
Full reference: Exclusion Zones and Why Nobody Stands Under a Load ↗
Module 3 assessment
The assessment is part of a subscription
You have full access to every lesson in this course. Taking the assessment and earning the certificate needs a subscription.
4 questions · 80% to pass · unlimited retakes. The lesson material is hidden while you answer.
1. Why does angled loading reduce an eyebolt’s capacity so sharply?
2. Why does a load swing when it leaves the ground?
3. Why must a tag line never be wrapped around a hand or wrist?
4. How wide should an exclusion zone be?
Slinger and signaller communication for lifting operations

A crane operator who cannot see the load is flying it on someone else's eyes, and the quality of that arrangement decides the lift far more than the quality of the machine.
Only one person directs the crane at any moment. Two people signalling is not redundancy; it is two sets of instructions arriving at an operator who has to decide which to obey, at the worst possible time. Who is signalling, how control passes if it needs to, and what the signals mean are all settled before the hook moves, not negotiated over a load that has started to swing.
The one exception to single-point control is stop. Anyone who sees something wrong can stop the lift, and the operator obeys a stop from any source without needing to know who gave it or why. This costs nothing when it turns out to be unnecessary and it is the only mechanism that lets a person outside the conversation intervene before an incident rather than after it.
If the operator cannot see the signaller, the operator stops. That rule has to be absolute, because the alternative is an operator continuing a movement on the assumption that the last instruction is still valid, when the reason the signaller disappeared may be precisely that something has changed. The same applies in reverse: a signaller who cannot see the load has nothing useful to say about it and should stop the lift rather than guess.
Key points
- EN 397 — Industrial Safety Helmets
Full reference: Slinger and Signaller Communication for Lifting Operations ↗
Planning a lift: what the lift plan has to answer

A lift plan is not a form to be completed; it is a set of questions that have to have answers before anyone touches a sling. The form exists to make it obvious when one of them does not.
What does it weigh, where did that figure come from, and where is its centre of gravity? What is it made of, what will mark it, and what are its rated lifting points — if it has any. Whether it is free to lift, or still bolted, grouted, frozen, or connected to something that will resist. A load that is stuck applies a shock at the moment it releases that has nothing to do with its weight.
Which machine, at what radius, and what does its duty chart say at that radius rather than at its best case. What is the rigging, what does the rigging itself weigh, and does the capacity of every component in the load path cover the configuration actually being used. Whether the ground will carry the machine, which is the question that turns a correct lift into a collapsed outrigger.
Where the load starts, where it lands, and every point it passes over between the two. What is overhead: power lines, structures, other cranes with overlapping radii. What is underneath the route, and whether it can be cleared or has to be worked around. Where the crane sets up, whether that ground has been assessed for the imposed load, and what is buried beneath it.
Key points
- EN 13414 — Steel Wire Rope Slings
- EN 1492 — Textile Slings (Webbing and Roundslings)
- EN 818 — Short Link Chain for Lifting
Full reference: Planning a Lift: What the Lift Plan Has to Answer ↗
Lifting near overhead lines and structures
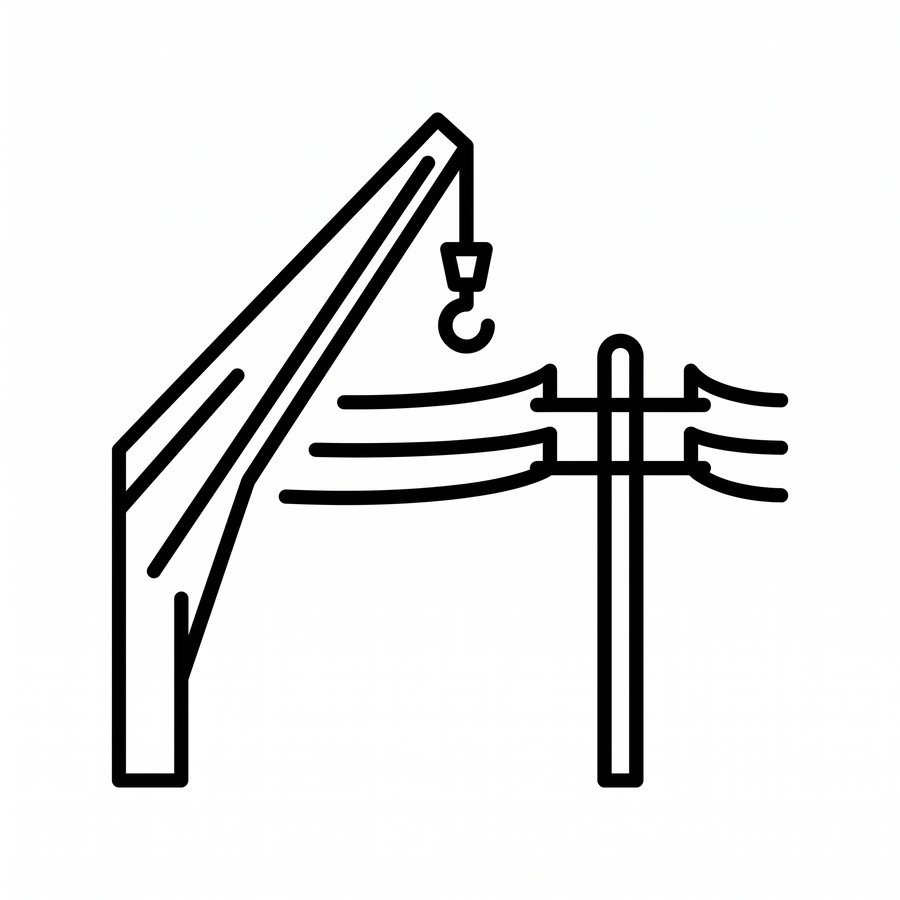
Electricity does not require contact. A crane boom brought close enough to a high voltage line can flash over through the air, and the first warning is the incident itself.
Most planning attention goes to where the load will be, but the boom sweeps a far larger volume and reaches higher than the load does. A jib that clears a line comfortably when the load is at the pick can be much closer to it once the crane slews or the boom is raised. The zone that matters is the one the whole machine can occupy, including the hook block, any hanging slings and a swinging load.
The reliable control is keeping the machine out of the area entirely, by isolating the line, by physically preventing the crane from reaching it, or by choosing a position from which it cannot. Barriers, goal posts and travel restrictions do this. Relying on the operator judging the distance by eye does not, because distance to an overhead line is very hard to judge from a cab, particularly against a plain sky and particularly when the operator is concentrating on the load.
The safest place is inside the cab, and the operator stays there. The ground around a machine in contact with a live conductor is energised, with the voltage falling away with distance, so a person standing near it can have a large difference in potential between their feet. Anyone approaching to help completes a path. If leaving the machine is unavoidable because of fire, the method is to jump clear without touching the machine and the ground at the same time, then to shuffle away with the feet together rather than to run.
Key points
- EN ISO 20471 — High-Visibility Clothing
Full reference: Lifting Near Overhead Lines and Structures ↗
Emergency response for a suspended or dropped load
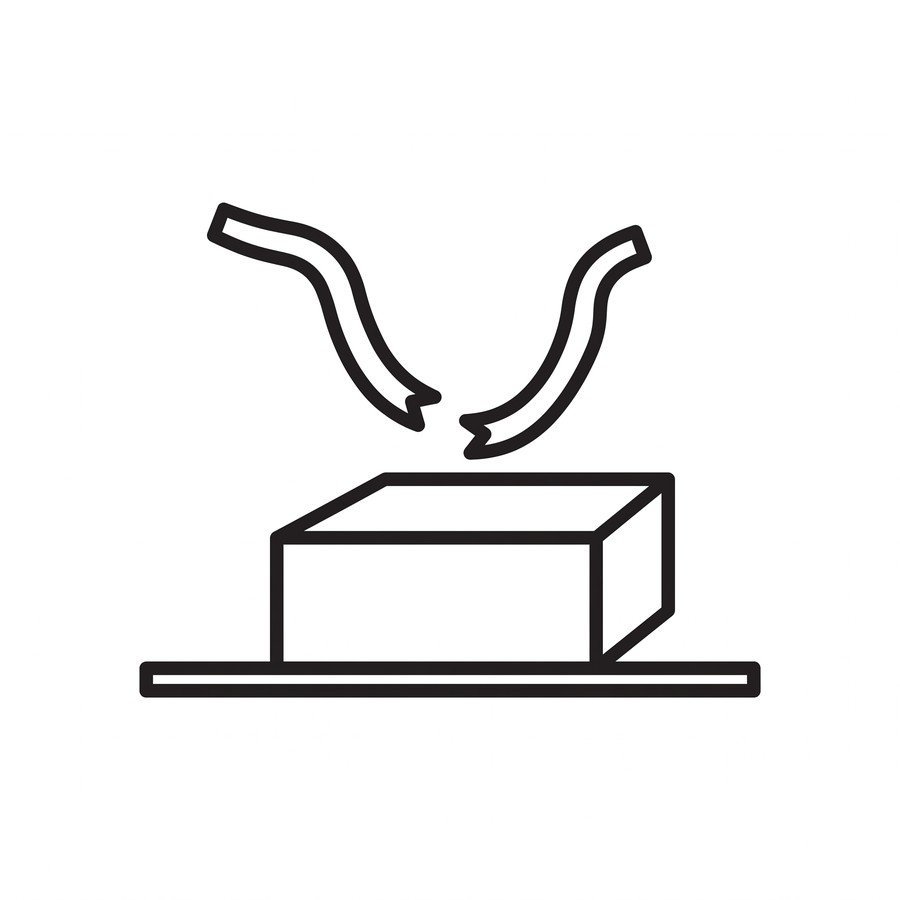
The dangerous moment in a lifting incident is usually not the failure. It is the ten minutes afterwards, when people move toward a load that is still suspended, still unstable, or still holding energy in the rigging.
When a crane fails or a sling jams with the load suspended, the instinct is to get the load down. That instinct is wrong until someone competent has assessed why it stopped. A load held by damaged rigging is being held by something that has already partly failed, and cutting, jacking or shock-loading it to free it removes the little margin that is holding it up. The correct sequence is to secure the area beneath and around it, keep everyone out, and get the assessment before anything is touched.
The first actions are all about who is where. Stop the lift, stop adjacent work that could vibrate or disturb the arrangement, extend the exclusion zone rather than maintaining the original one, and put someone on the access route to stop people walking in. A suspended failed load has a far larger footprint of consequence than the same load in a controlled lift, because nobody knows which way it will go.
Material that has fallen can still roll, topple or settle, and a stack that landed intact can collapse minutes later as it finds its own equilibrium. Slings under a dropped load may be in tension and will move when released. Approaching to assess damage or to recover equipment is the point at which a second incident happens, and it should wait until the arrangement has been made stable rather than merely observed to be still.
Key points
- EN ISO 20471 — High-Visibility Clothing
- EN ISO 20345 — Safety Footwear
Full reference: Emergency Response for a Suspended or Dropped Load ↗
Module 4 assessment
The assessment is part of a subscription
You have full access to every lesson in this course. Taking the assessment and earning the certificate needs a subscription.
4 questions · 80% to pass · unlimited retakes. The lesson material is hidden while you answer.
1. Who can stop a lift?
2. Why does the crane radius matter so much in a lift plan?
3. Does a crane have to touch an overhead line to be dangerous?
4. Why is failed rigging left in place after a lifting failure?
Course assessment
The assessment is part of a subscription
You have full access to every lesson in this course. Taking the assessment and earning the certificate needs a subscription.
8 questions drawn from every module · 80% to pass · unlimited retakes.
1. A sling label carries several working load limits. Why?
2. Which hitch gives the highest capacity, and on what condition?
3. What is the first thing to check on a textile sling?
4. Where should the sling sit on a shackle?
5. Why does angled loading reduce an eyebolt’s capacity so sharply?
6. How wide should an exclusion zone be?
7. Who can stop a lift?
8. Why is failed rigging left in place after a lifting failure?
Course complete
100%
Every module and the final assessment passed
Certificates are not issued yet — that needs a signed-in account, which is coming. Your progress is saved in this browser meanwhile.